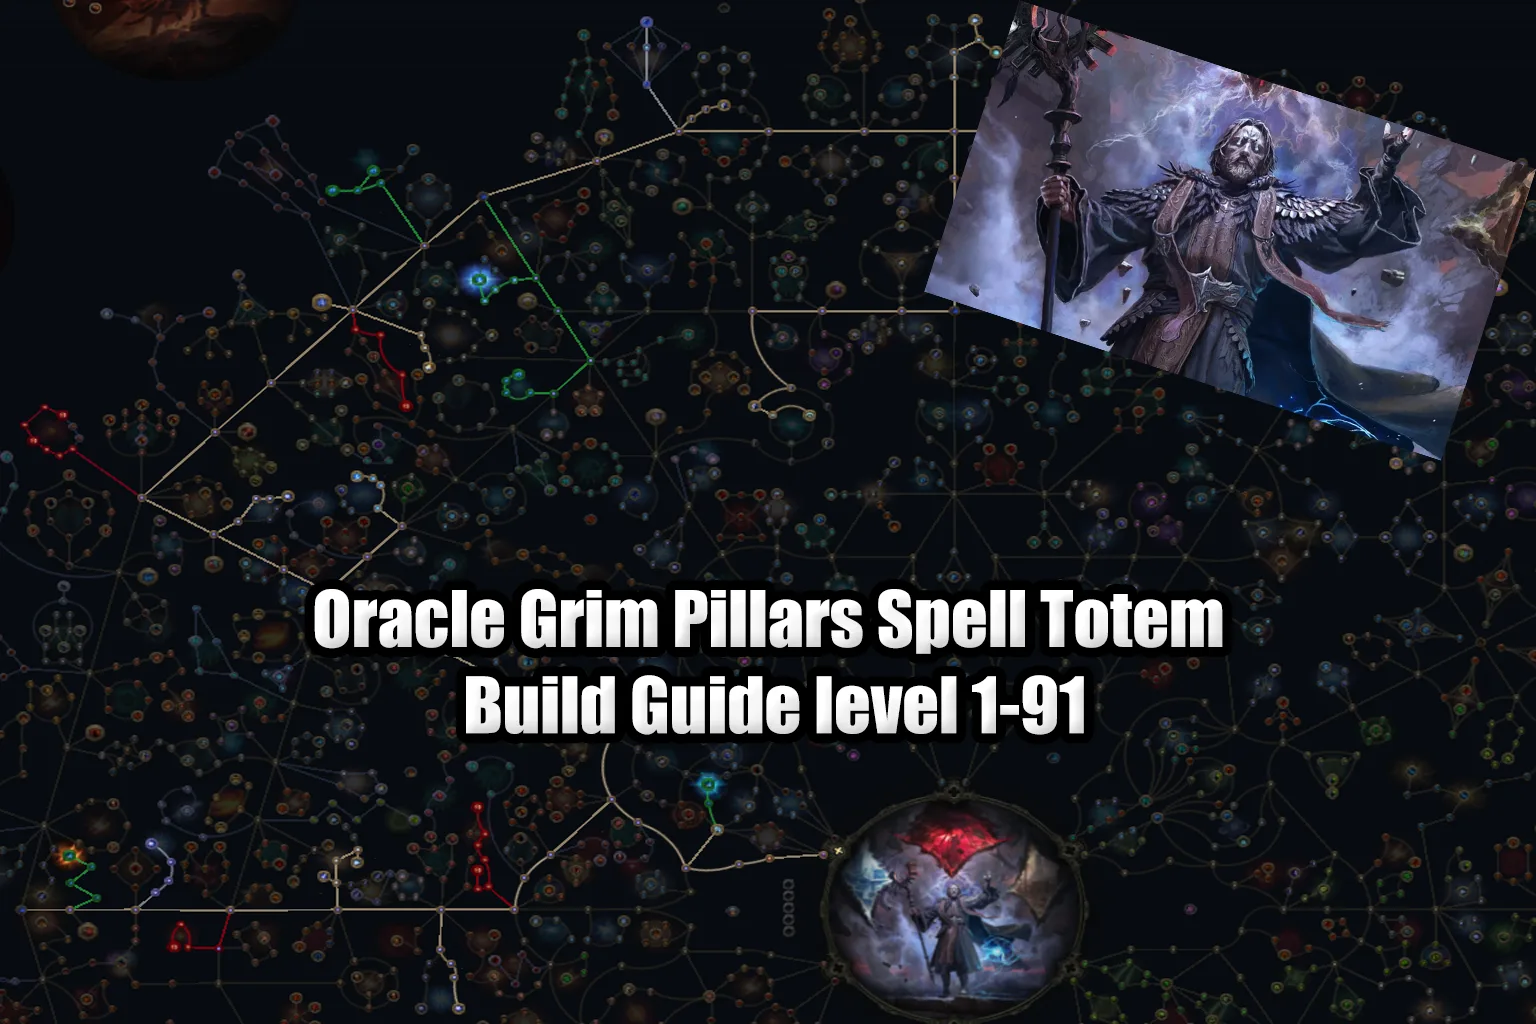
The Oracle Grim Pillars Spell Totem is a powerful Cold-based build in Return of the Ancients that combines multiple spell totems with Freeze and Shatter mechanics. It offers excellent damage, strong crowd control, and a simple playstyle that works well from leveling into endgame.
Grim Pillars Spell Totem Build Overview
This build focuses on using multiple Grim Pillars totems to deal Cold damage and rapidly Freeze enemies.
Unlike minions, totems are treated as an extension of your character. They benefit from your offensive modifiers, allowing you to focus your gear and passive investment on increasing your own damage rather than building separate defenses for your totems.
With the right setup, the build can reach up to 6 active totems
Leveling & Core Skills
The build starts coming together around Level 22, when Spell Totem becomes available.
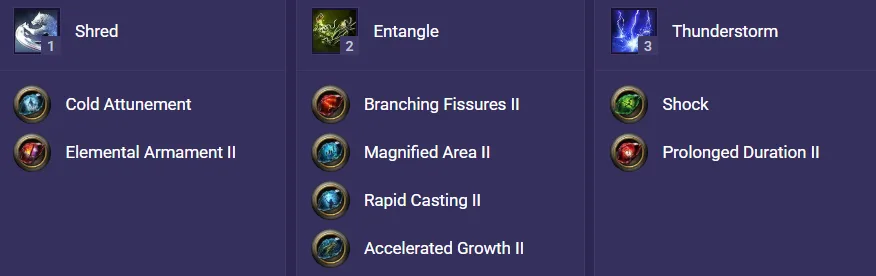
Before that, use skills such as:
- Entangle

- Shred

- Thunderstorm

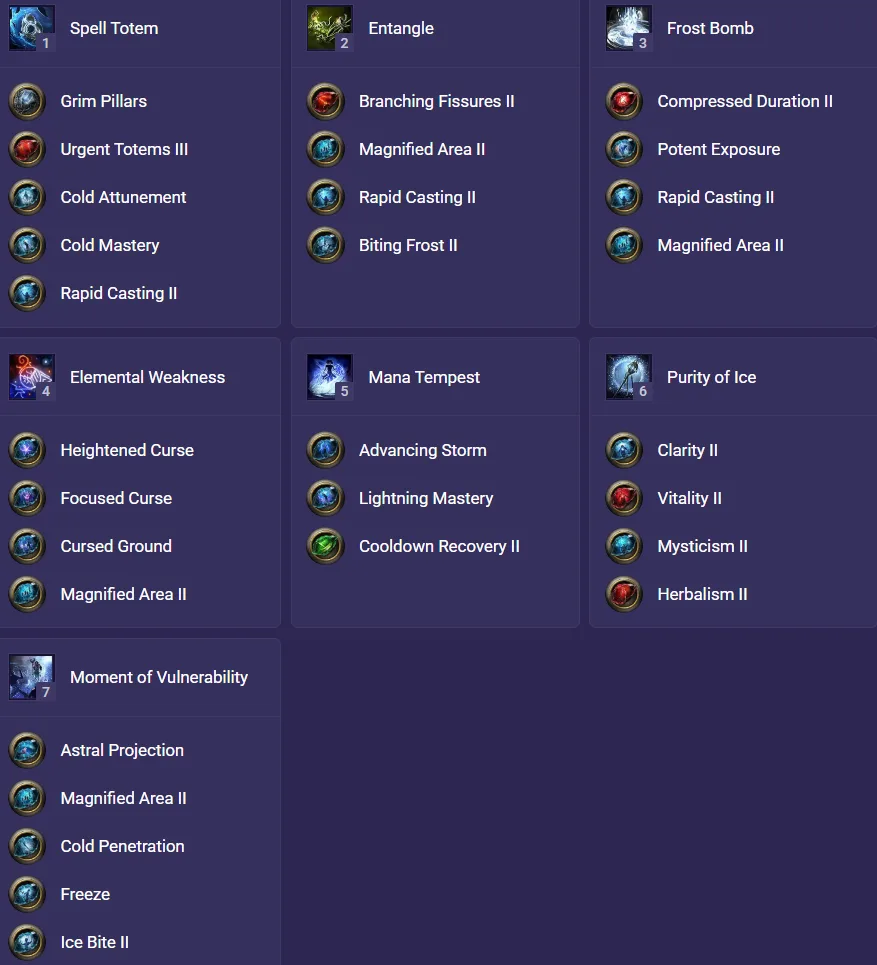
Once you reach Level 22, switch to Grim Pillars  and Spell Totems
 ,begin investing into Totem quantity, placement speed, Cold damage, and Freeze effectiveness


Key Ascendancy & Totem Scaling
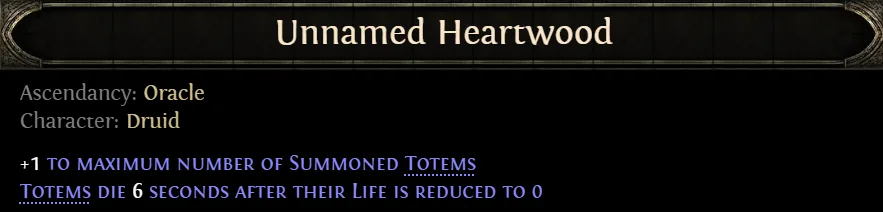
 Unnamed Heartwood is one of the most important Ascendancy choices for this build. It provides an additional totem while allowing your totems to expire after 6 seconds, reducing the need to invest heavily in their defenses.
Ancestral Bone further increases your totem count, allowing the build to reach up to six Grim Pillars totems with the appropriate setup.
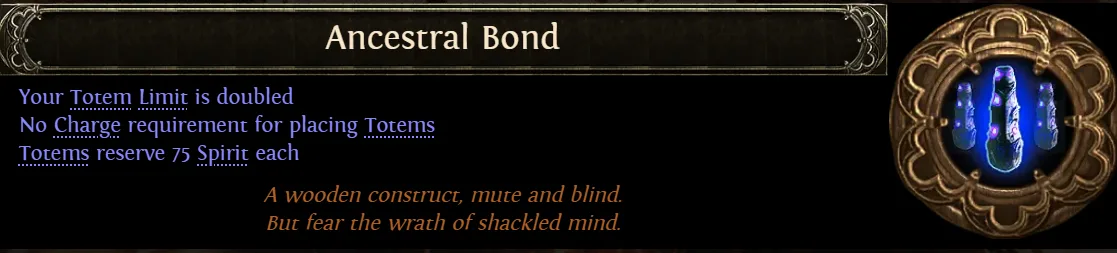
More totems provide better coverage, faster Freeze application, and significantly higher damage.
Gear Priorities
The most important stats for the build are:
- Spirit
- +Levels to spells
- Energy Shield
- Elemental Resistances
- Mana and mana sustain
- Cold/Spell damage
Spirit is particularly important because multiple totems require a significant amount of Spirit to summon and maintain.

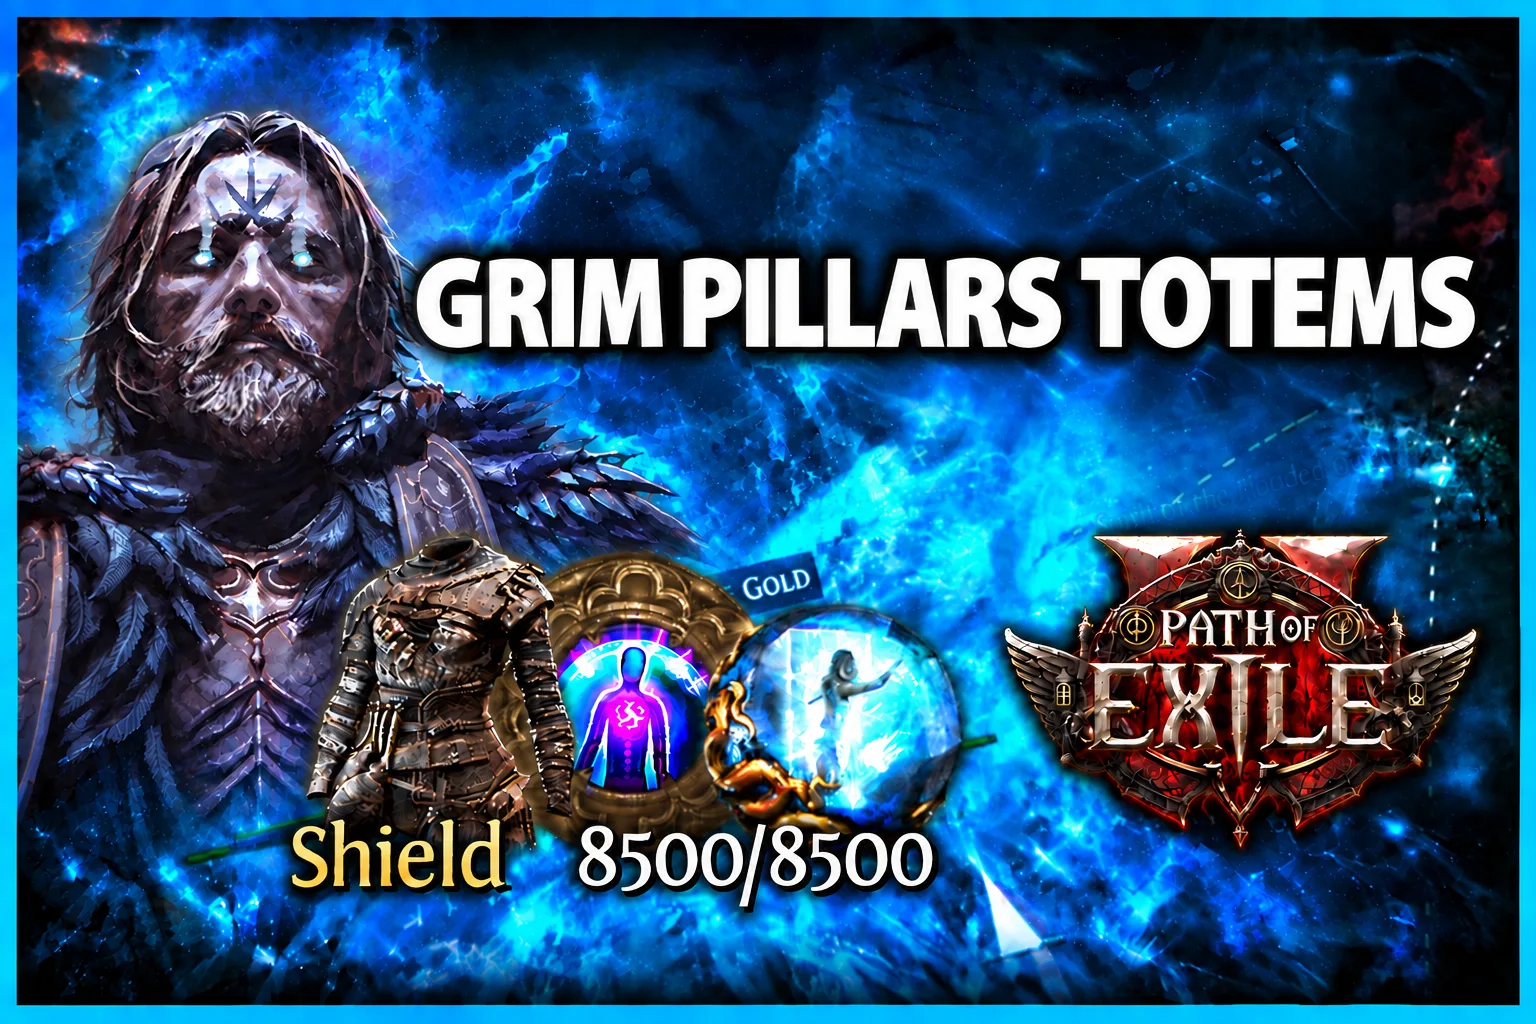
Grim Pillar Totems Oracle CI Endgame Build - Path of Exile 2
Level 1-22
Weapon - Changeling Talisman 
Helm - Wings of Caelyn 
Body Armour - Bristleboar
Ring - x2 Blackheart 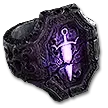
Boots - Any + movement speed
Level 22-26
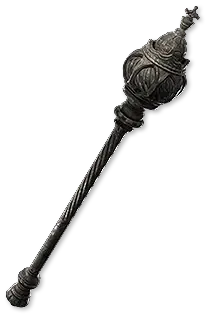
Weapon switch to -> spell wand + spirit sceptre during campaign 
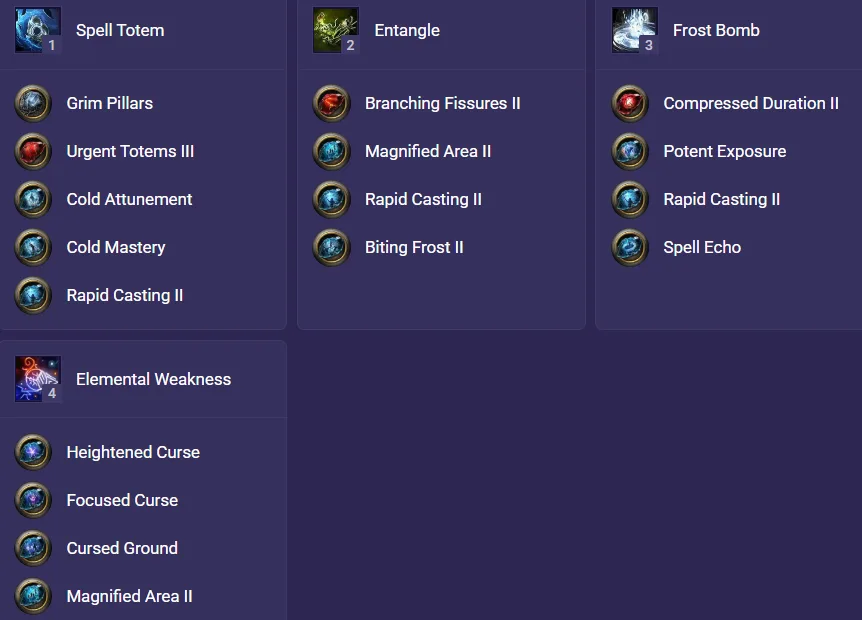
Level 26-91
Above level 65 we're looking to equip:
Wand - 4 or more to level of all spell skills
Amulet - Spirit, rarity of items found and +2 or more to level of all spell skills, We instill "Efficient Inscriptions".
Body armor with Spirit - Armor,(min 1100) Energy Shield (min 300)
Boots - Minimum +30% to movement speed
The rest - res, mana, armour,...
Mana & Defense
Mana management becomes important when using multiple totems and supporting skills.  Mana Tempest can help with resource management when used correctly.
Useful defensive stats include:
- Energy Shield ✅✅✅
- Armour✅
- Resistances✅✅
- Stun Threshold✅
Pros & Cons
Pros ✔️
- Very high Cold damage
- Excellent Freeze and Shatter synergy
- Up to 6 active totems
- Strong clear and boss damage
- Simple, low-input playstyle
- Excellent endgame scaling
Cons ⛔
- High Spirit requirements
- Mana can be difficult to manage
- Requires good positioning
- Vulnerable to one-shot mechanics
- Requires investment to reach its full potential
Final Verdict

The Oracle Grim Pillars Spell Totem is a strong choice for players who want a high-damage, low-input build with powerful Freeze and Shatter mechanics.
It becomes viable around Level 22 and scales naturally through additional totems, Spirit, spell levels, and Cold damage. With the right gear and defensive setup, it can comfortably transition from leveling into demanding endgame content.
FAQ
What level does Grim Pillars Spell Totem start working?
The build becomes viable around Level 22, when Spell Totem becomes available.
How many totems can this build use?
With the proper Ascendancy, Ancestral Bone, and gear setup, the build can reach 6 active totems.
Is Grim Pillars good for endgame?
Yes. Its high Cold damage, Freeze control, and Shatter synergy make it effective for both clearing packs and fighting bosses.
What stats should I prioritize?
Prioritize Spirit, +Levels to spells, Cold/Spell damage, Energy Shield, Armour, and Elemental Resistances.
Is this build beginner friendly?
Yes. The gameplay is relatively simple because your totems handle most of the damage. However, you still need to pay attention to positioning, mana, and dangerous enemy mechanics.